Air Conditioning Pump
If not required this can simply be removed. It uses its own bespoke drive belt so its removal will not affect the accessories drive belt.
In some installations you may need to remove some accessory equipment. Some items you may want to remove anyway.
If not required this can simply be removed. It uses its own bespoke drive belt so its removal will not affect the accessories drive belt.
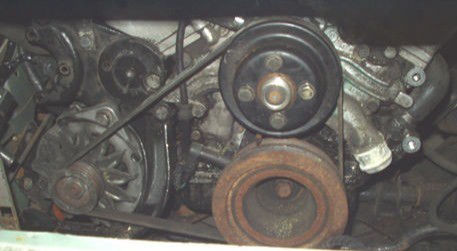
This is driven by the accessories drive belt.
If it is simply not required you may want to consider leaving it fitted purely as an idler pulley.
If it does need to be removed see the Accessories Drive Belt section further down this page.
On the Ford Cortina the pump pulley fouls the chassis rail. If you are lucky enough to have the rare power steering rack for your Cortina (recommended with the weight of the engine) then people have notched the chassis leg to clear the pulley. I removed the pump on mine so I'll leave it to your discretion.

Unless you really want to keep this 'scrape it past the emissions laws' feature you'll want to disable this feature. The EGR valve itself is on the RH exhaust manifold on the end of a rigid pipe. This pipe can be cut by its base and a neat blanking plug welded across it.
Or you could do what I did, cut the end of the outlet pipe off and fold it over. So long as it's gas-tight. You may also spot in the photo the self tapping screw sealing off the other small pipe.

There is a port at the back of the manifold for the now redundant EGR system that needs to be blanked off. In my case this was achieved with the use of a blanking olive and a home made clamping plate.
There are a few electrical plugs and a black electrical control box that can now ne discarded.
It is most likely that you will want to junk the viscous fan in favour of an electric one. Apart from removing the parasitic load it saves you having to align the radiator and fan shroud with the engine.
On the Cortina there is insufficient space between the engine and the radiator for a fan so an electric pusher type fan will have to be fitted to the front of the radiator.
This will vary depending on installation but here are the common tasks.
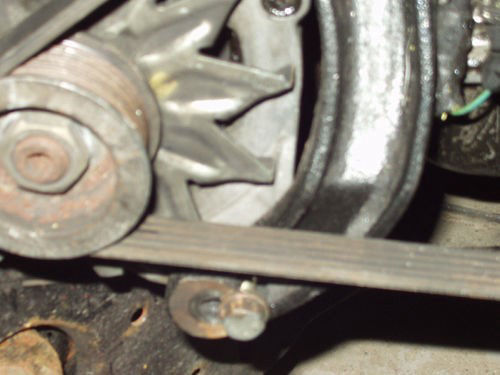
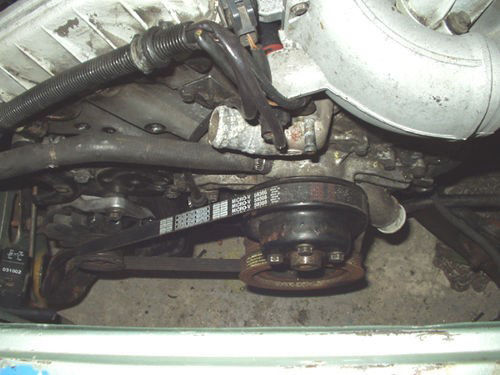
If you remove the power steering pump you of course disrupt the routing of the Accessories Drive Belt. The new route requires a shorter belt. It also requires a new method of tensioning as the original sprung loaded tensioner, apart from being in the wrong position, fouls the new belt route.

The closest match for the new required belt that I found was a 5 row belt with a total length of 1013mm. If you look at the smaller number in the photo you will see that it matches - 5PK1013
This belt may seem a little tight at first, this will be addressed in the next step.
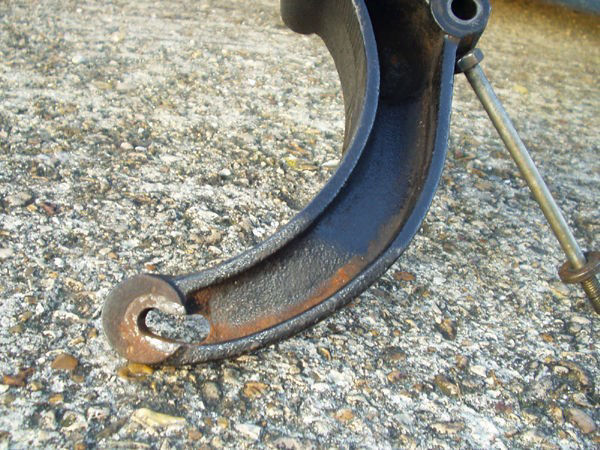
The alternator is mounted in such a way that the bracket can be modified to provide some adjustment in the traditional manner. As can be seen on the photo, the mounting hole in the lower arm is simply elongated. I found the easiest wat to do this was to mount the alternator onto the bracket with just the upper bolts, swing it tight against the bracket and through the lower bolt hole mark the arm. Drill a new bolt hole in this position and then join the two holes to from the slot. Don't forget the slot will have to follow an arc to match the movement of the alternator.
Bolt it all up and you are good to go.
Don't forget to recheck the tension once the belt has had time to bed in.
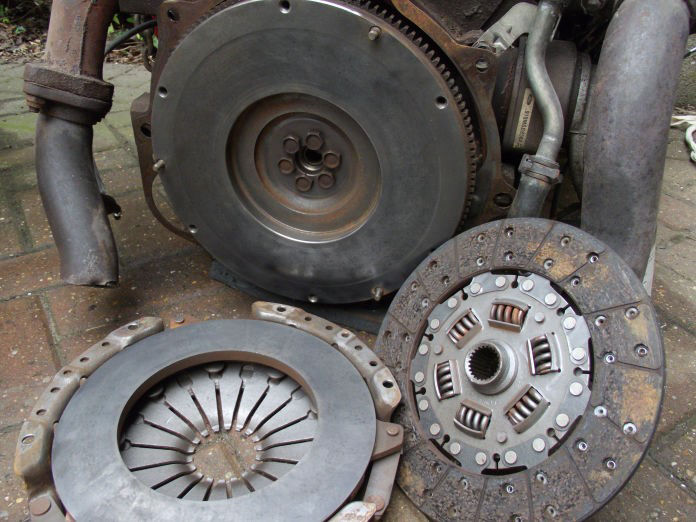
Pretty obvious really and will come down to which gearbox you are using.
2.8 Cologne for the type 9 (don't forget to make sure you have the correct V6 spec release arm fitted to the gearbox)
2.9i Cologne for the MT75
Don't forget to fit the needle roller bearing in the back of the crankshaft for the spigot on the end of the gearbox primary shaft to engage in!
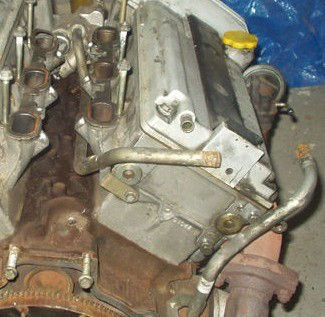
If you need to alter the heater pipes for your application you had better do it now whilst you have access.
The upper pipe routed through the valley of the engine comes from the back of the thermostat and the coolant flows out of it into the heater.
The other pipe routed up the back of the block and pointing towards the front of the engine is the return pipe from the heater.
For my Cortina I found I had clearance issues with the bulkhead so I cut the valley pipe just before the bend at the back of the valley and the other pipe just below the white label in the photo. Ideally the cut pipes should have there ends rolled to prevent the hoses from slipping off under pressure.
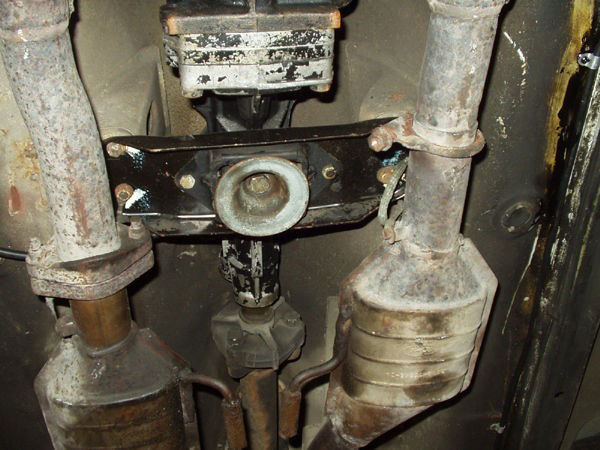
These will obviously be peculiar to your installation.
Cortina - Use the 2.3 Cortina engine mounts if you can find any. When fittin them note that they are handed. You can use the Cosworth engines mounting rubbers with these.
If using the Type 9 you can use the gearbox cross-member from and Automatic Cortina, you just turn it 180 degrees and it all lines up.
That should be it.


Built with
Web Design Program